Introduction
This guide provides a comprehensive walkthrough on approving recommended changes within CloudFix that interact with AWS services.
Accessing the Dashboard
- Open Dashboard: Visit the CloudFix Dashboard to begin.
Approving Recommendations
- View Recommendations: Click any Recommendation section to view proposed changes.
Review Details: Open the recommendation and click on the "Pending Approval Tab" to see specifics.
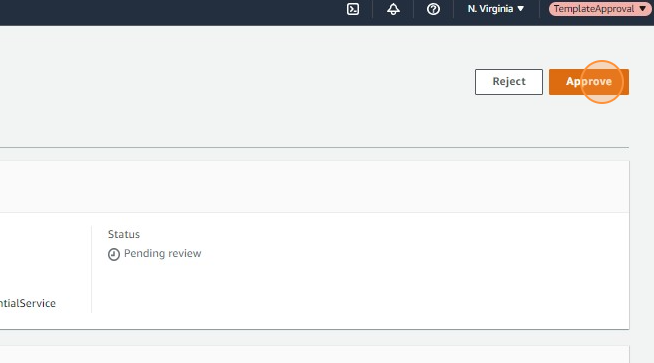
Approval Process
- Initial Approval: Click "APPROVE".
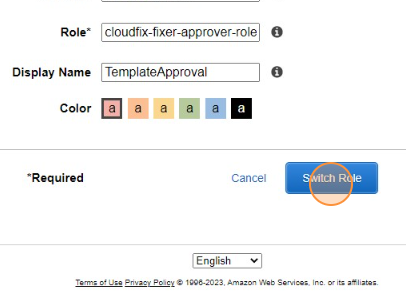
- AWS Role Confirmation: Accept the defaults in the AWS Switch role dialog and click the confirmation button.
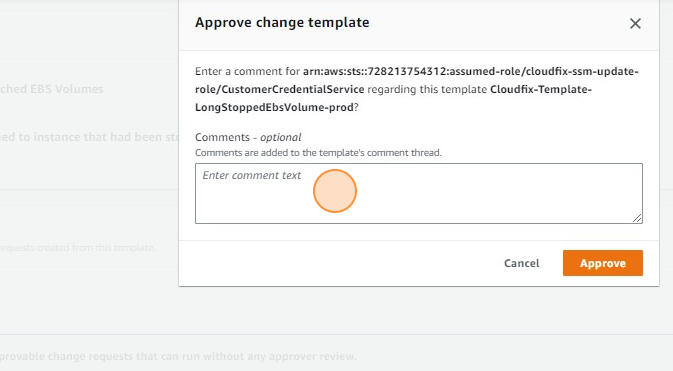
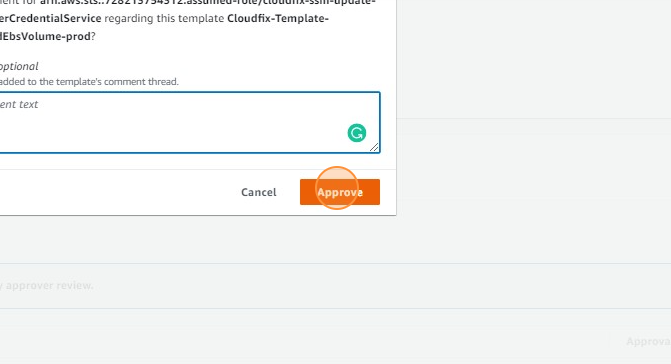
- Final Approval: Click "Approve" again after typing a comment in the "Comments - optional" field.
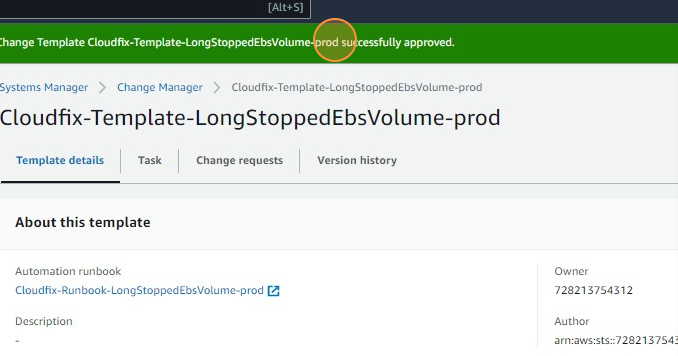
- Confirmation: Verify that the message "Change Template Cloudfix-Template-xxx-prod successfully approved" appears.
Completing the Process
- Return to CloudFix: Go back and click "Done" in the Template Approval Dialog. The fixes will now be available in the "Available to Execute" section.
- Select and Execute: Resources in the "Ready" state can be selected individually or in bulk.Click "Execute" to send the jobs to Change Manager.
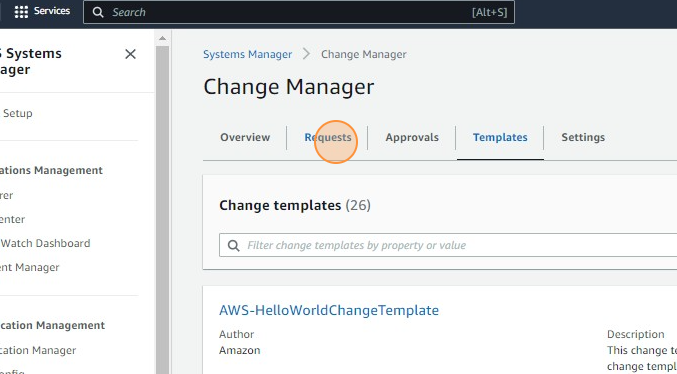
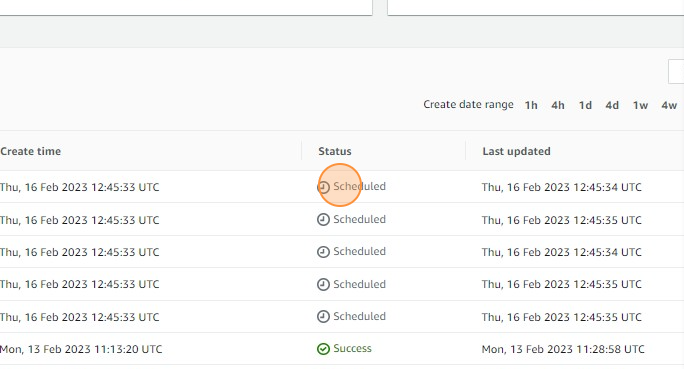
- Monitoring Progress: To check on progress, go back to AWS, switch the role back from TemplateApprover, and click "Requests".
- Verify Execution: Ensure that the requests appear, which can take a few minutes.
Priyanka Bhotika
Comments